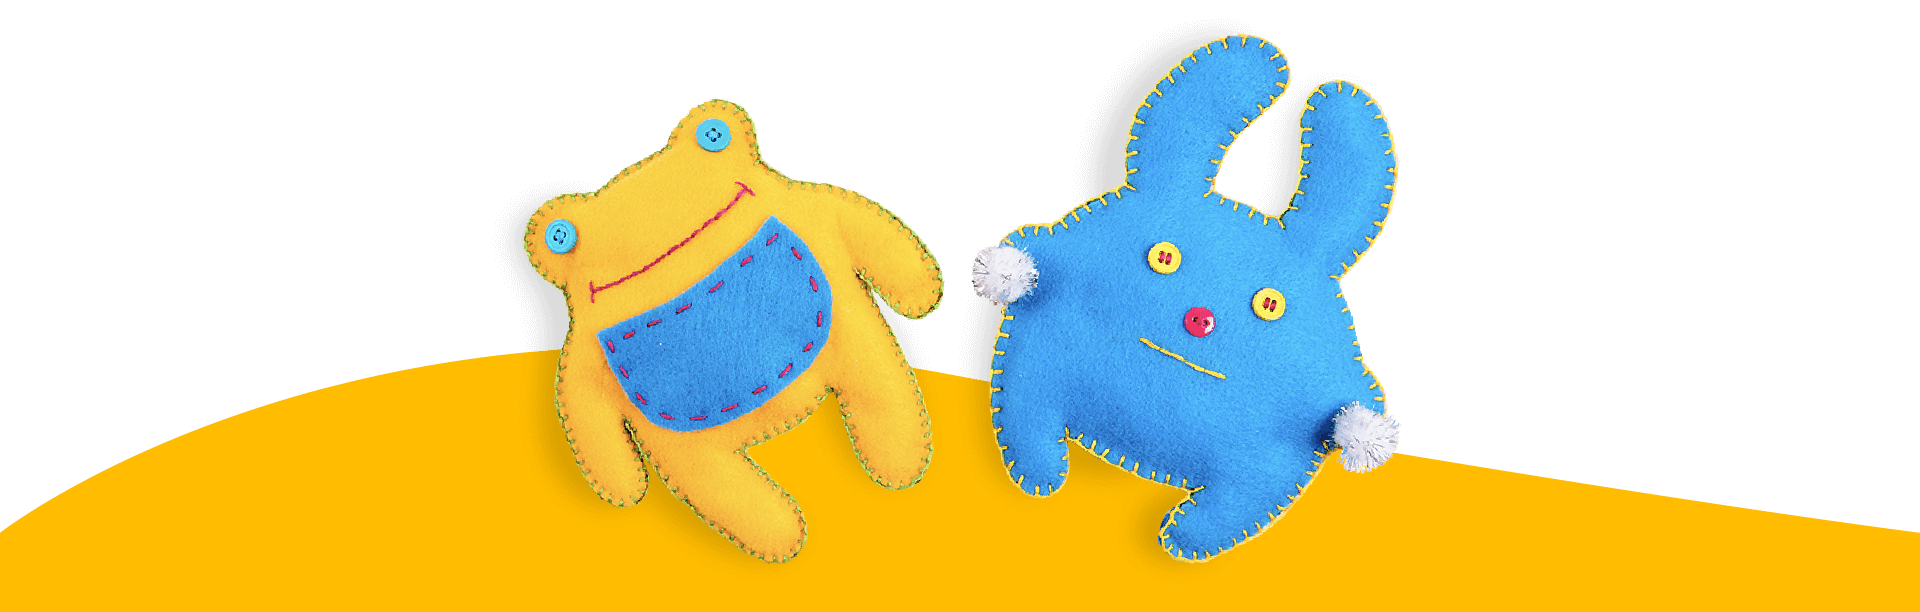
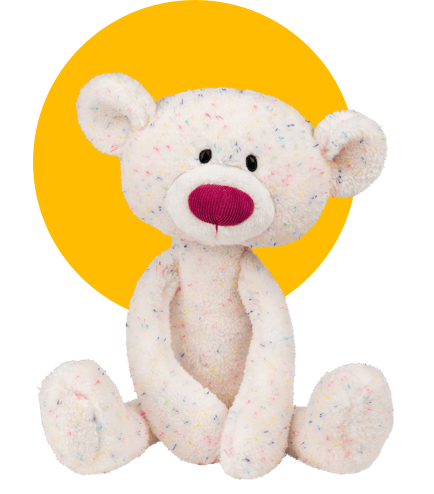
Ever wondered how your favorite GUND toy is made? Believe it or not, it starts as plain piece of fabric. The pattern, or shape of your GUND, is drawn on the pattern, one for the front and one for the back. The patterns are cut out and sewn together along the edges. Then the piece is flipped inside out to hide to seams and make sure the edges are nice and clean. The GUND is filled with soft stuffing and sewn closed. Adding buttons and other fabric provide the perfect finishing touches to bring your GUND to life! Now that you know how GUNDS are made, use your imagination to create a one-of-a-kind cute character of your own!


Parental supervision required.
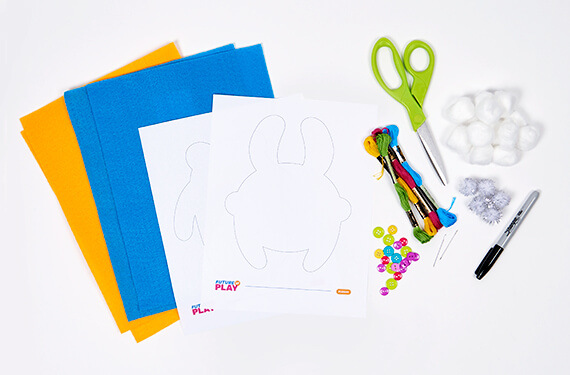

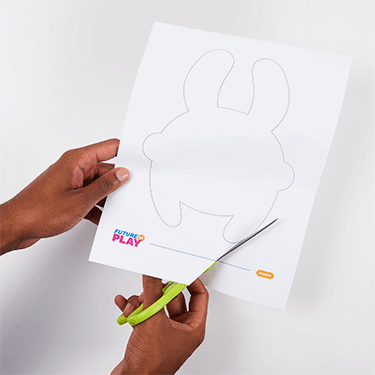
Download and print a pattern, then use scissors to cut it out.
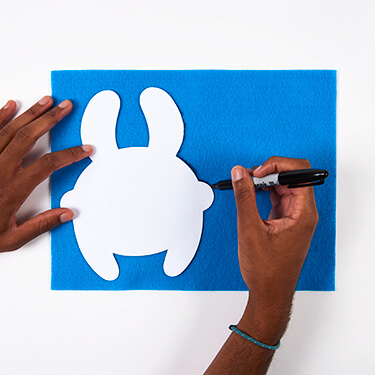
Place the paper pattern on a flat piece of fabric and use a marker to trace it. You’ll have to do this twice to get the front and back of your plushie.
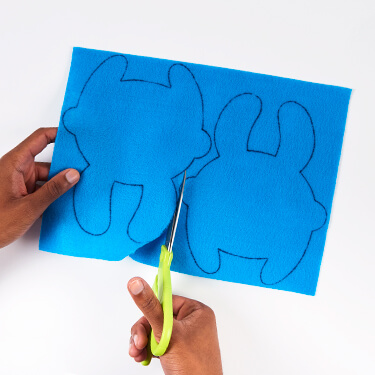
Cut out both patterns on your fabric.
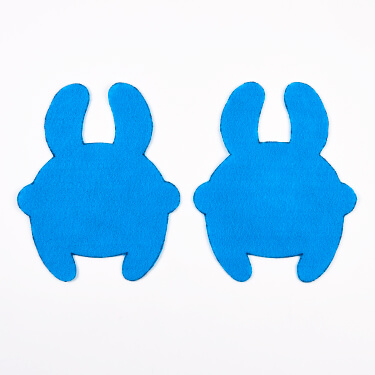
Choose one of the patterns to be the front of your plushie.
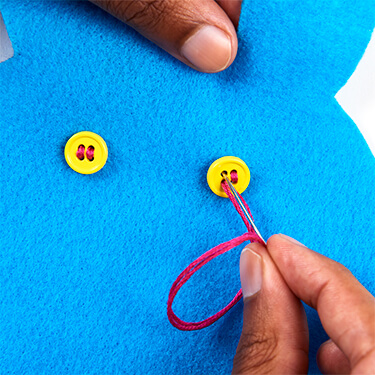
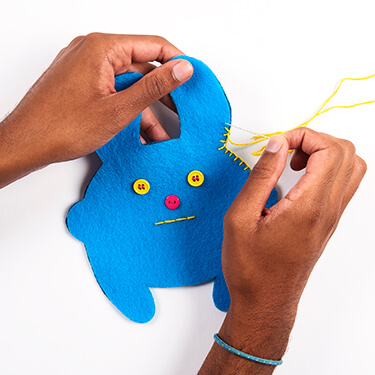
Sewn on buttons, stitch a smile, or add any other details you want to the front piece of fabric.
Place the front piece of fabric on top of the other piece. Sew the two pieces of fabric together along the edge.
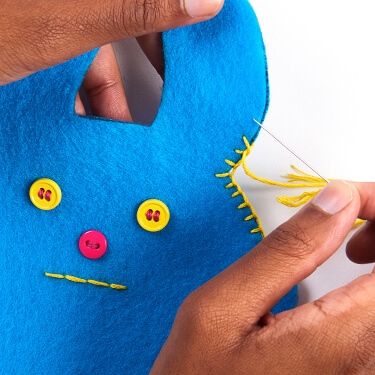
Use blanket stitch with contrasting thread for a decorative finish. You can find lots of tutorials online to learn how to make this stitch.
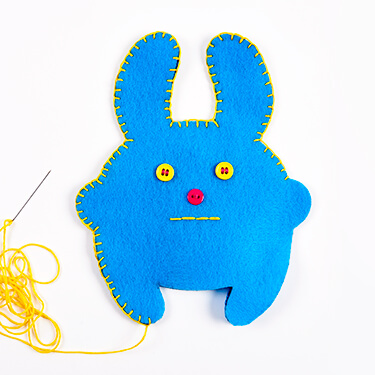
Don’t sew your plushie completely closed. Leave an opening at the bottom to add the stuffing.
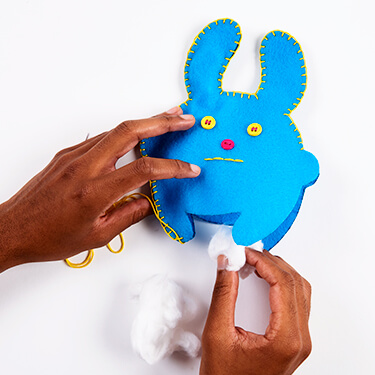
Use cotton balls or other soft material to fill your plushie. Use less to make them cuddly or more to make them fluffy. It’s up to you!
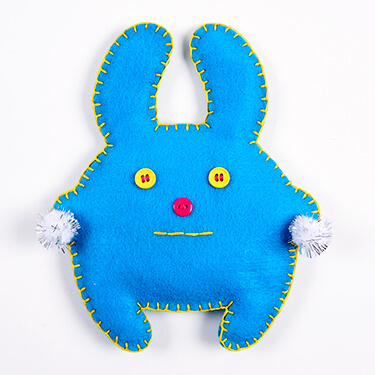
With your plushie stuffed, sew the hole closed to finish it up. How does your plushie look?